How to use Gamma to your advantage
Gamma is a key technique in machine vision, used to adjust the discrepancy between the digital output of a camera sensor and the way the human eye perceives brightness and contrast in images. It is also effective in correcting overexposed or over-illuminated areas in images, ensuring a more accurate representation of the scene.
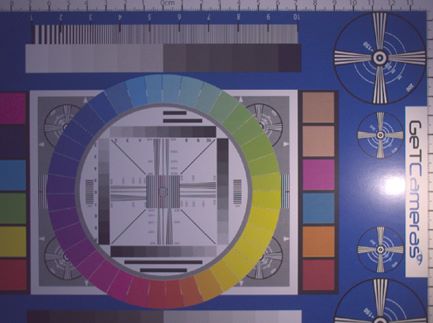
Table of contents
What is Gamma Correction?
A camera sensor captures light intensity, converting it into a corresponding digital value. This conversion follows a linear relationship, meaning that the digital value is directly proportional to the light intensity of each pixel. However, the human eye perceives images in a logarithmic scale, which differs from the linear output of a camera sensor. If the sensor's raw image data is displayed directly on a screen, the result often appears unnatural, with a noticeable disconnect between the camera’s output and the way we naturally perceive light.
To bridge this gap, gamma correction is applied. This process adjusts the tonal distribution of the image, ensuring a more accurate representation of both bright and dark areas. In a direct comparison, linear tonality tends to concentrate more on the bright areas, making the dark tones indistinguishable. With gamma correction, however, the image is adjusted to reveal more detail in the darker regions, creating a more balanced and visually appealing result.

Benefits of Gamma Correction
How to Enable Gamma on Your Camera
1. Open the Galaxy Viewer and connect your camera
2. On the right side, Click Remote Device and navigate the Analog Control
3. Set GammaEnable to True to activate Gamma correction
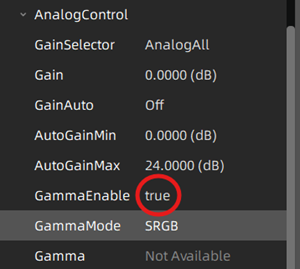
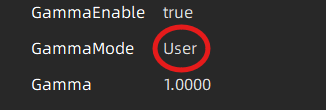
4. To use custom gamma value, switch the Gamma Mode from sRGB to User
5. Once in User mode, you can manually select your desired Gamma value
How to Use the Gamma Feature
1. Adjust Exposure: To address over-illuminated spots in your image, reduce the exposure time until the details behind the bright spot are visible.
2. Apply Gamma: Once the exposure is set, adjust the gamma value to enhance the overall image brightness. The dark spots will brighten without causing the bright areas to overexpose again.
Observe how the ‘Gamma’ feature can influence the image quality
1. With Gamma= 1 and Exposure time= 17ms
Colors on left side of the image are slightly visible. The text "GeT Cameras" is not readable due to over-illumination.
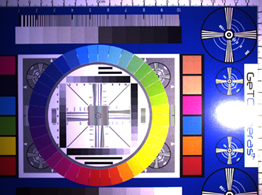
2. With Gamma= 1 and Exposure Time= 4ms
Colors on left side of the image are not visible. The text "GeT Cameras" is readable, but the left side of the image is too dark.
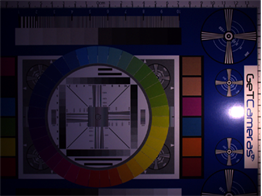
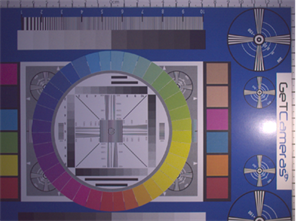
3. Gamma= 0.5 and Exposure time= 4ms
After applying gamma correction (i.e. Gamma value is set to 0.5), "GeT Cameras" is readable, and the colors on the left side are also visible.
Hence, with Gamma Correction, an evenly illuminated image with a balanced brightness is achieved.
How to adjust Gamma using the LUT Create Tool Plugin
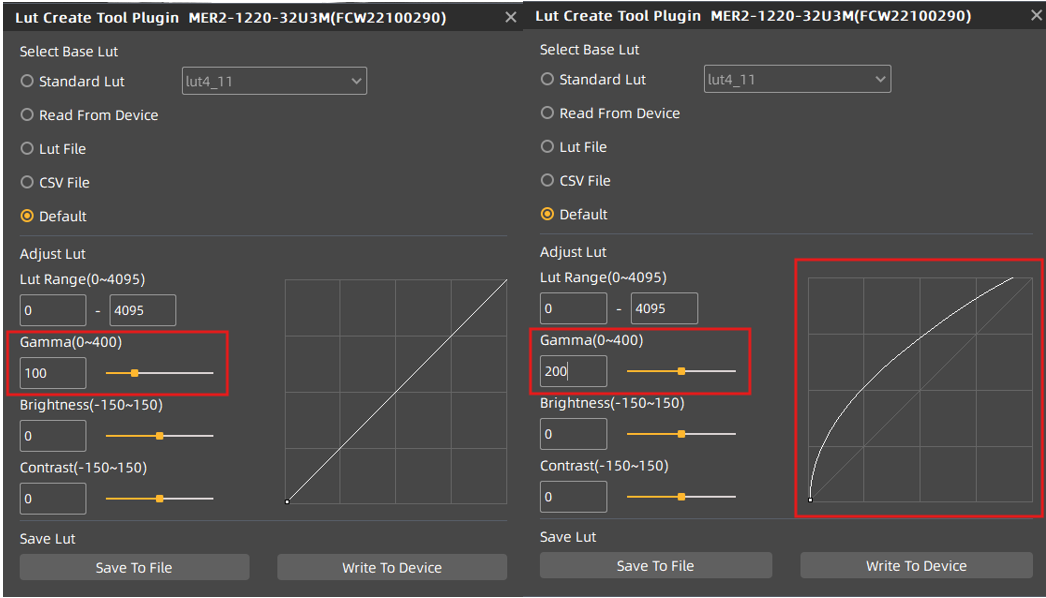
The LUT Create Tool Plugin in the Galaxy Viewer allows users to modify pixel intensity and gamma through a Look-Up Table (LUT), enhancing image contrast and brightness in real time.
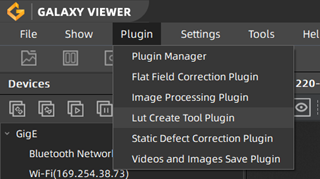
- First, launch the Galaxy Viewer software and open your camera device. Once connected, navigate to the menu bar and select the LUT Create Tool from the Plugin list. This will open the LUT Create Tool's graphical user interface (GUI) for adjustment.
- Within the LUT Create Tool Pugin, find Adjust LUT. It is possible to adjust the Gamma value here by either using the slider or by typing a value directly into the input box. The Gamma range extends from 0 to 400, with the default set at 100. As you change this value, observe the Polyline Drawing Area, where a curve dynamically updates to represent the current Look-Up Table being generated.
To save these settings
- Click the Write To Device button to save the current LUT data to the camera's user parameter set (UserSet0) and make it default. These settings will then be automatically restored upon camera restart.
- Or, select the Save To File button to export the current LUT data as a .lut or .csv file. This is useful for backup purposes or transferring the configuration to another camera. You can later reload these settings through the "LUT File" or "CSV File" options.
Which Industrial Camera Models Support Gamma?
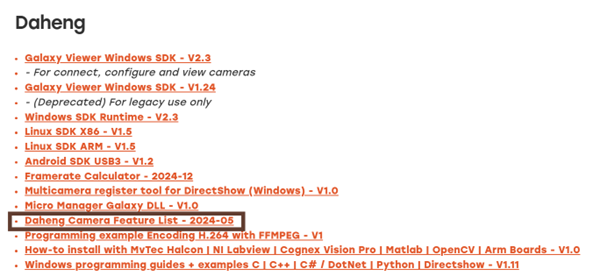
A comprehensive list of industrial camera models that support Gamma correction can be found in our download area. Please visit the download section to access the full list of compatible camera models.
Downloads -> Software -> Daheng
