How to Install Galaxy SDK for x86-Based Devices and Get Your Industrial Camera Running on Linux
Whether you’re working with USB3 or GigE cameras, the Galaxy SDK provides the tools you need to adjust camera settings and capture high-quality images. This tutorial provides step-by-step instructions on how to download, install, and set up the Galaxy SDK on Linux for x86-based devices.
The Galaxy SDK is a powerful tool for managing industrial cameras on Linux. This guide takes you through the process of installing and configuring the Galaxy SDK on your Linux system with
x86 architecture. It also covers how to set up your camera, capture images using both the Galaxy View and C++ SDK, and ensure everything operates seamlessly.
The images in this article are from an x86_64 system, running Linux (Ubuntu 24.04 LTS).
Table of contents
Downloading and installing Galaxy SDK
1. Download the Linux SDK for x86
Visit VA Imaging's download page and download the Linux SDK X86 for x86-based devices. Make sure to select the correct version for your system.
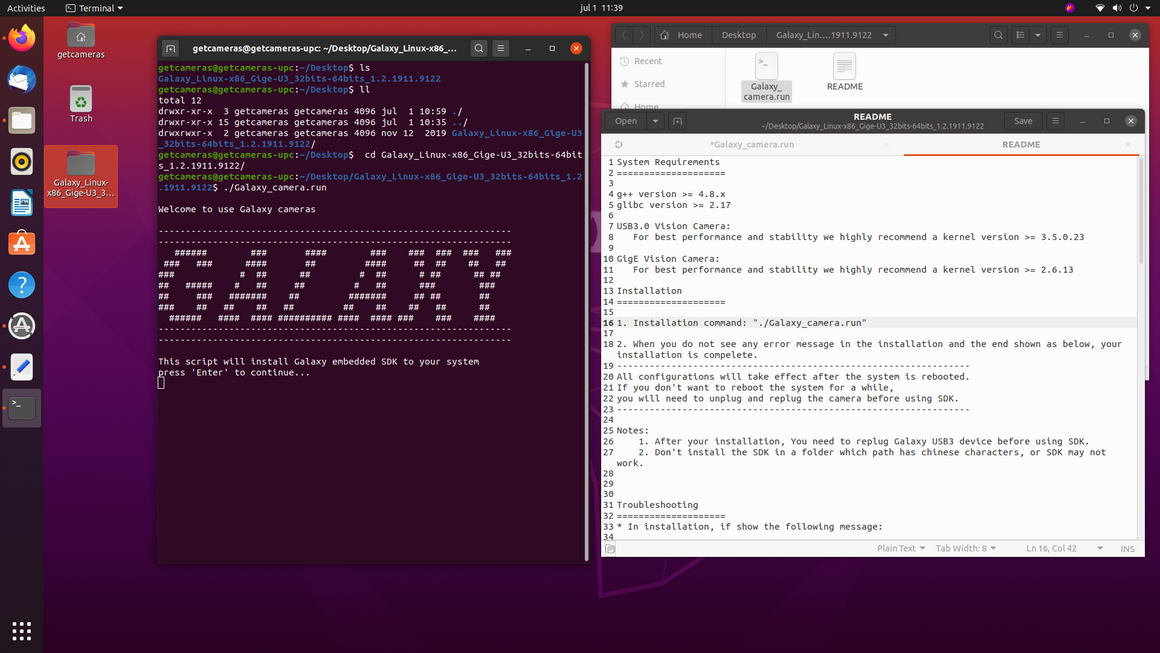
2. Extract the downloaded file
Locate the downloaded file and extract its content. You can usually do this by right-clicking the file and selecting "Extract" or by using the following terminal command:
unzip Galaxy_Linux-x86_Gige-U3_32bits-64bits_1.5.2303.9221.zip
3. Check the README file
Open the README file in the extracted folder. This file contains important information, including system requirements. Make sure your system meets the necessary specifications before proceeding.
4. Make the “Galaxy_camera.run” file executable
In the extracted folder, locate the "Galaxy_camera.run" file. Make it executable by running the following command in your terminal:
chmod +x Galaxy_camera.run
5. Start the installation
To begin the installation of the Galaxy SDK, run the following command with root permissions:
sudo ./Galaxy_camera.run
6. Follow the installation instructions
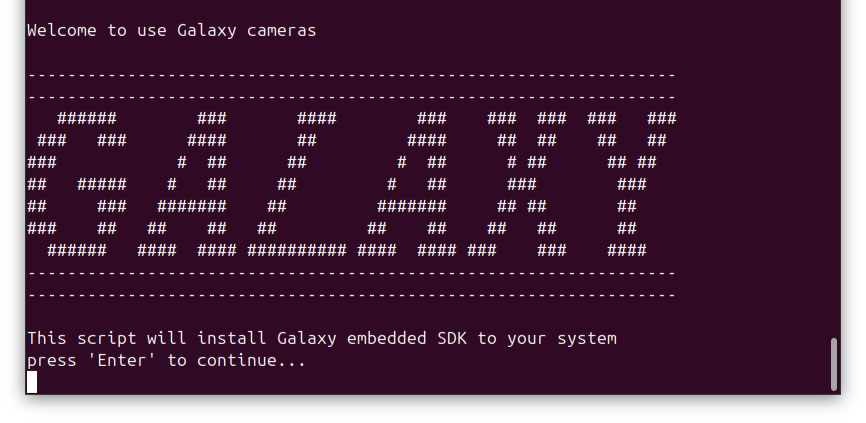
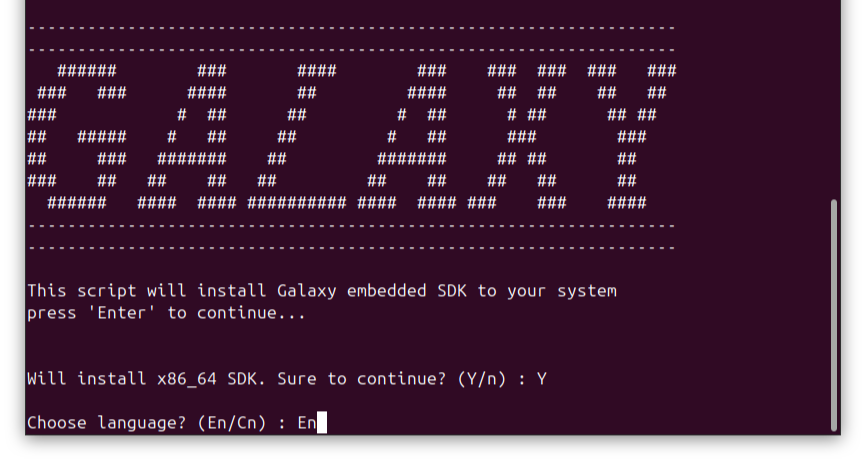
During the installation process, you’ll be prompted with various questions. Press Enter to start the process. When asked to continue, type “Y” to confirm. You’ll also be asked to select your preferred language.
7. Verify successful installation
Once the installation is complete, you should see the following message (without any errors):

Acquiring images with Galaxy viewer
1. Reconnect the camera
After installing the software, either restart your system or unplug and reconnect your camera.
2. Open Galaxy Viewer
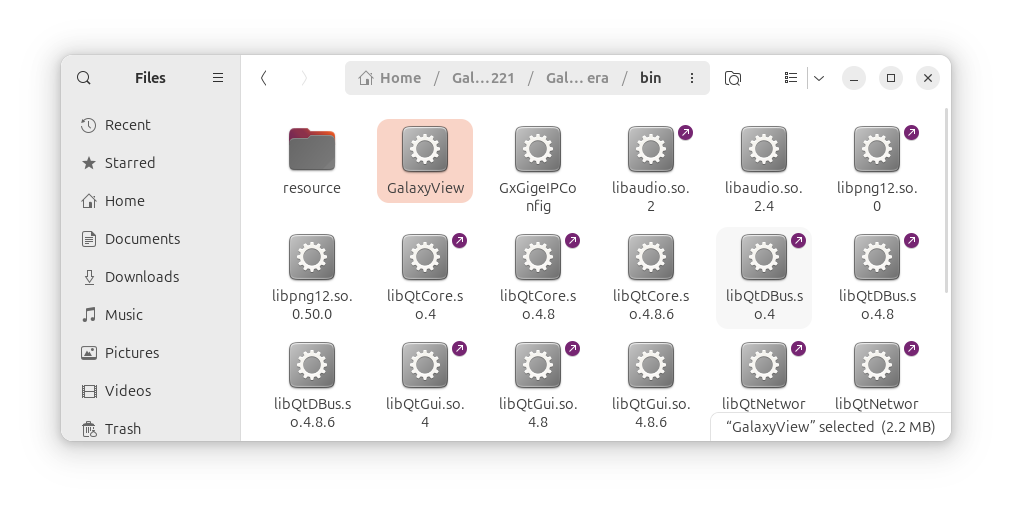
Navigate to the following path on your system:
/Galaxy_Linux-x86_Gige-U3_32bits-64bits_1.5.2303.9221/Galaxy_camera/bin
Locate and run the file named “GalaxyView”, by double click or via Terminal with this command:
./GalaxyView
3. Select your camera
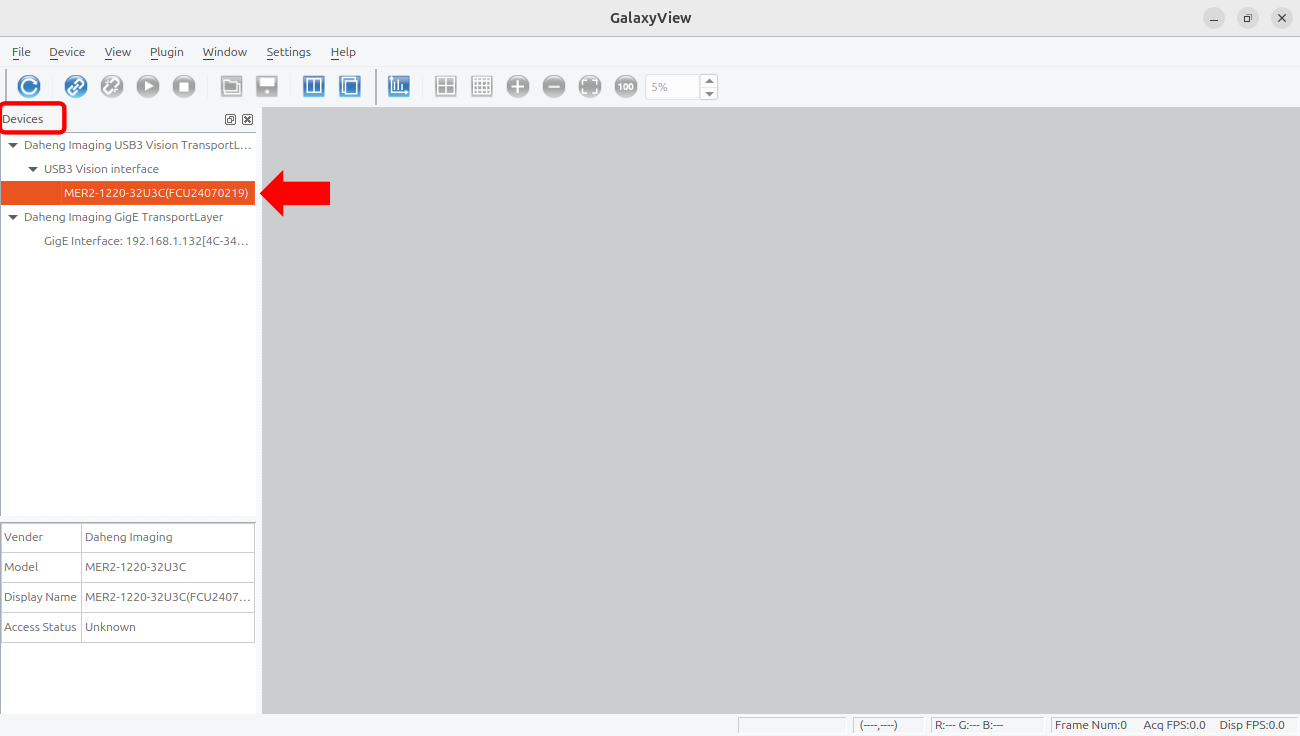
In the Devices section, choose your camera from the list.
4. Start acquisition
Click the Play button to start the acquisition and the Save button to save the frame.

Acquiring images with C++
1. Open a Terminal
2. Update the list of packages
sudo apt-get update
3. Install package dependences
sudo apt-get install make g++
4. Navigate to the Sample directory
cd /Galaxy_Linux-x86_Gige-U3_32bits 64bits_1.5.2303.9221/Galaxy_camera/ ample/GxSingleCamMono
5. Build the sample
make
6. Run the sample
./GxSingleCamMono
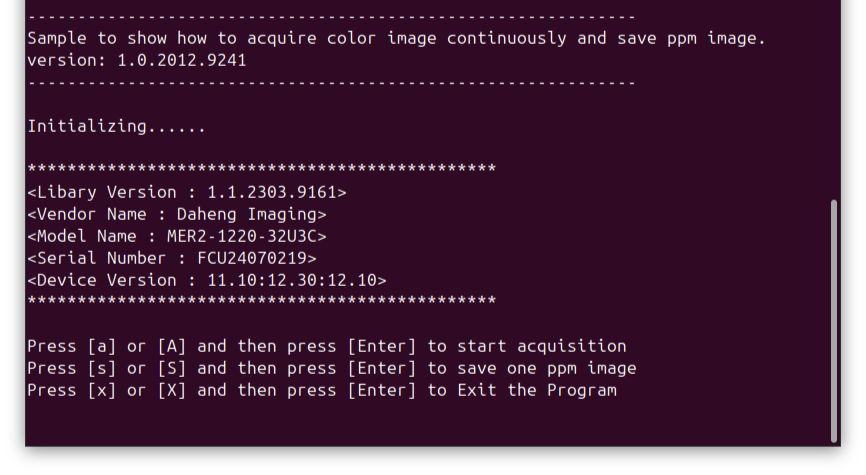
7. Start the acquisition and save photos
