Machine Vision for Label inspection
Packaging is an important aspect of production, even more important is the information that is presented on the packaging. Implementing a label inspection vision system to your production line will ensure that all packages are fully inspected before delivered to your customer. This will reduce waste, limited or even eliminate human error and ensure that vital information such as expiry dates are not only present but also legible for every piece of product that is sent to your customer.
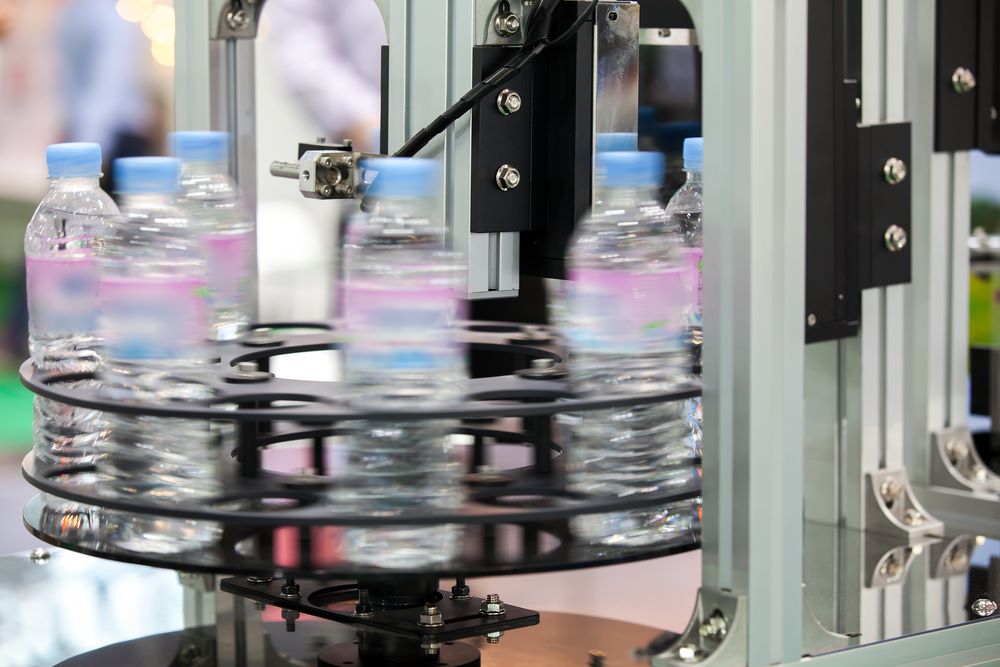
This test case involves creating a system that will perform a label inspection on a package of food items. The system is required to read the barcode, confirm that the expiry date is legible, confirm that all stickers are present on the package and that all stickers are in the right place, while facing the right direction.
This article will provide step by step guidance in selecting a suitable camera, lens, lighting and software for your label inspection system.
Table of contents
Selecting the camera for label inspection
When selecting an industrial camera, it is crucial to select the right sensor for your application. Factors such as resolution, pixels size, light sensitivity and special features such as binning are important factors to consider when deciding which sensor to implement. The first step is to calculate the resolution that is required. To calculate this value, we need to know the FOV (field of view) and the system resolution. In this label inspection system project the object itself is 250mm x 200mm but the object is not always positioned in the same place on the conveyer belt. The conveyer belt has a width of 300mm so we will consider this as the horizontal field of view (Hfov).
Most sensors are rectangle in shape, this is important to consider when determining the vertical field of view (Vfov). To calculate the Vfov we use the following formula:
(Hfov/4) *3=Vfov
(300mm/4) *3=225mm Vfov
Now that we have established what the fov is we can determine the resolution that is required for this label inspection application.
We always recommend focusing on the smallest detail that will be recognized on the package. In this case it is the width of the thinnest line of the barcode, we measured this to be 0.5mm.
When calculating the system resolution for a barcode reading, we recommend dedicating 2 pixels per mm of the smallest object.
Smallest object/2pixels=System resolution
0.5mm/2pixels=0.25mm System resolution
To calculate the resolution needed we use the following formula:
Horizontal camera resolution = 300 mm (horizontal FOV) / 0.25mm (systemresolution) = 1200pixels
Vertical camera resolution = 225 mm (vertical FOV) / 0.25mm (systemresolution) = 900pixels
Other factors influence the choice of camera
Other factors that will influence the choice of camera are:
- Color or monochrome: if you don’t specifically need to see colour we always recommend monochrome. This is because monochrome offers 3 x more light sensitivity and a sharper image.
- Camera interface, USB3 camera or GigE camera: For more information refer to the following article: Which machine vision camera to select?
- Global shutter or Rolling shutter: if there is an object or camera that has any movement while taking the image then we recommend choosing Global shutter camera.
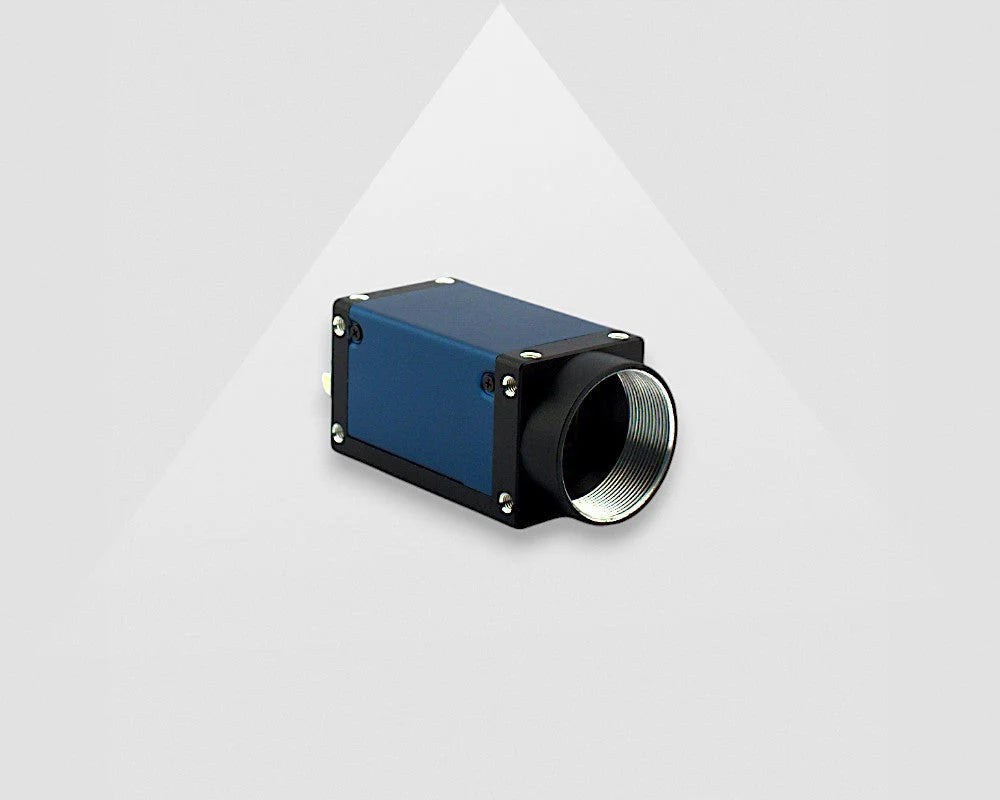
In this label inspection application, the customer requested a monochrome camera. The object will be moving on a conveyer belt when the image is taken so we recommend a global shutter and there the distance between the camera and the PC is 7m, therefore we recommend a GigE interface. There are 2 cameras in our portfolio that match these criteria: MER2-160-75GM-P or MER2-134-90GM.We used the compare function to compare the specifications of each model.
After some consideration we recommended the MER2-160-75GM-P camera, when comparing the sensors the Sony IMX273 was a better fit. This sensor has a lower read noise which was important to the customer. The price and availability were also an influencing factor. The MER2-160-75GM-P is a “VA-Imaging choice”, these cameras are kept on hand and in most cases can be shipped immediately. The customer has plans to implement this camera in multiple machines, he does not want to invest too much capital keeping cameras in stock. The fact that we can deliver the cameras with Express delivery was very important. If you want to know more about our Handling options visit FAQ VA Imaging.
Selecting a suitable lens for IMX273
We recommend working with fixed focal length lenses, these lenses are specifically designed to endure the harsh conditions of industrial environments. For this label inspection application, the customer was concerned that there may be a slight vibration where the lens and camera will be placed, this is not an issue as our C-mount lenses are designed and tested to perform in such conditions. The lenses are also equipped with a screw to lock the iris and focus on place.
The customer had not yet defined the exact distance between the camera and the object, the range of the working distance is 500mm-1200mm. The customer requested that the lens has no distortion and that the resolving power of the lens is high enough to read the lines of the barcode in the corners of the FOV. This is because the product is not always lying in the center of the FOV. As a general rule and if the setup of the application allows, we prefer a WD that is 2 x the Hfov. Therefor a longer WD is preferred for this label inspection application.
Using the Lens calculator we calculated the focal length options: We started by filling in the sensor size of the camera and the maximum WD of 1200mm and a Hfov of 310mm. Hfov of 310mm is used because it’s always good to leave a little extra room, you can use advanced options in the calculator for a more accurate value. The calculator recommended a 16mm focal length, so we reduced the WD to 1005mm which matched with calculated focal length of the lens. By filling in the advanced option with the specific resolution and pixel size indicated of the camera the FOV would be 307mm x 230mm which fits the criteria.
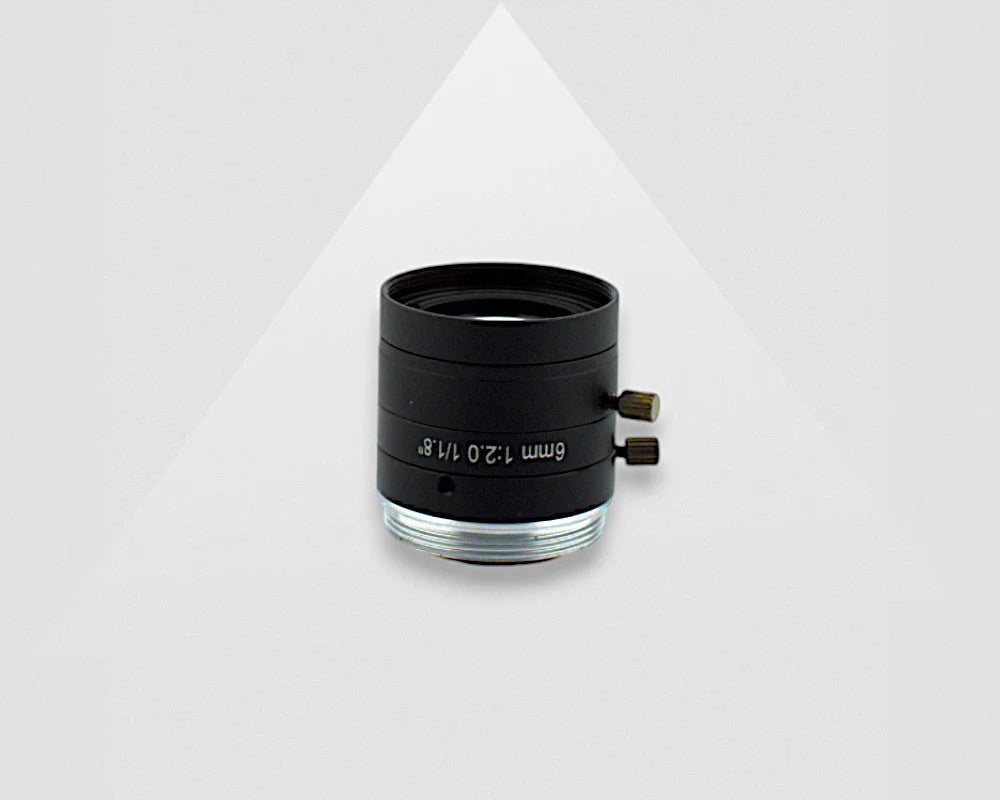
Lens Calculator
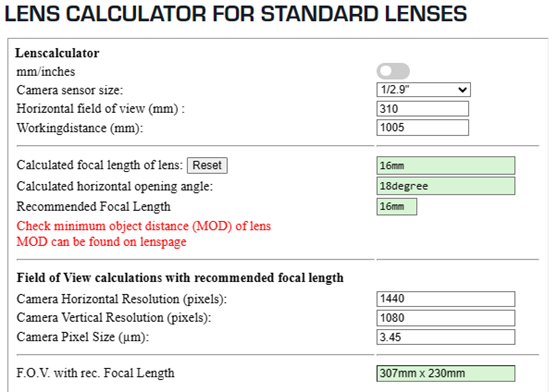
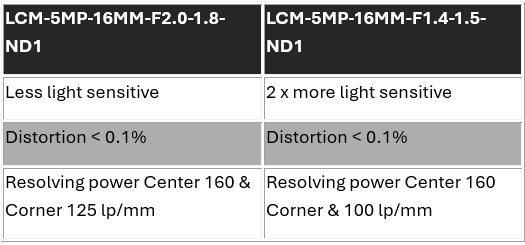
We have 2 options of 16mm C-mount lenses in our portfolio as observed on the picture on the right.
When comparing these lenses, the differences were in the f-number, (the lower the f-number, the more light sensitivity the lens offers), the distortion and we also referenced the lens resolution chart in the Download page for the lens resolution (lp/mm) values to compare the resolving power of the lens, especially in the corner.
We then decided to use the VA-LCM-5MP-16MM-F2.0-018 lens, this not only because if the price advantage but also the lp/mm reading being higher in the corner.
Lighting and filters for label inspection
The customer was planning on placing 2 Bar lights on either side of the camera for his label inspection vision system. The packaging has a slight reflection which can make reading the information on the package difficult. We recommend using a technique called Cross Polarizing by adding a polarizing filter to the lens and lighting. Keeping in mind that this technique will reduce the light by 20%. You can read more about this technique in this article: Polarization in your machine vision application.
We recommend using a Polarizing sheet VA-LFT-LPOL-300x200 in front of the lighting, not directly on the lighting as the lighting emits too much heat and for the lens filter, we recommend the Polarizing filter VA-LFT-LPOL-M25.5 that fits this lens specifically.
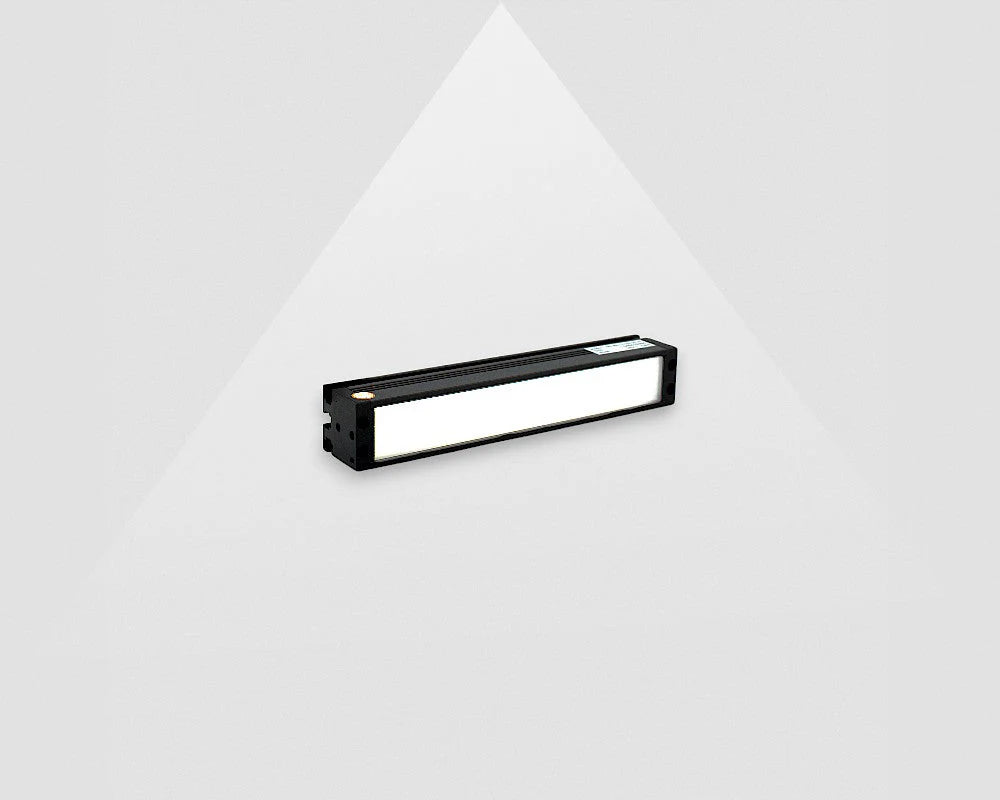
Image processing software for label inspection
To get this system fully operational the image is acquired through our Software development kit (SDK). You will also need to set the parameters of the camera such as White Balance, Gain and exposure time. Read more about these settings image. Our SDK is freely available on our Download page, there are multiple options to download. This will all depend on which operational system you will be using for your specific applications.
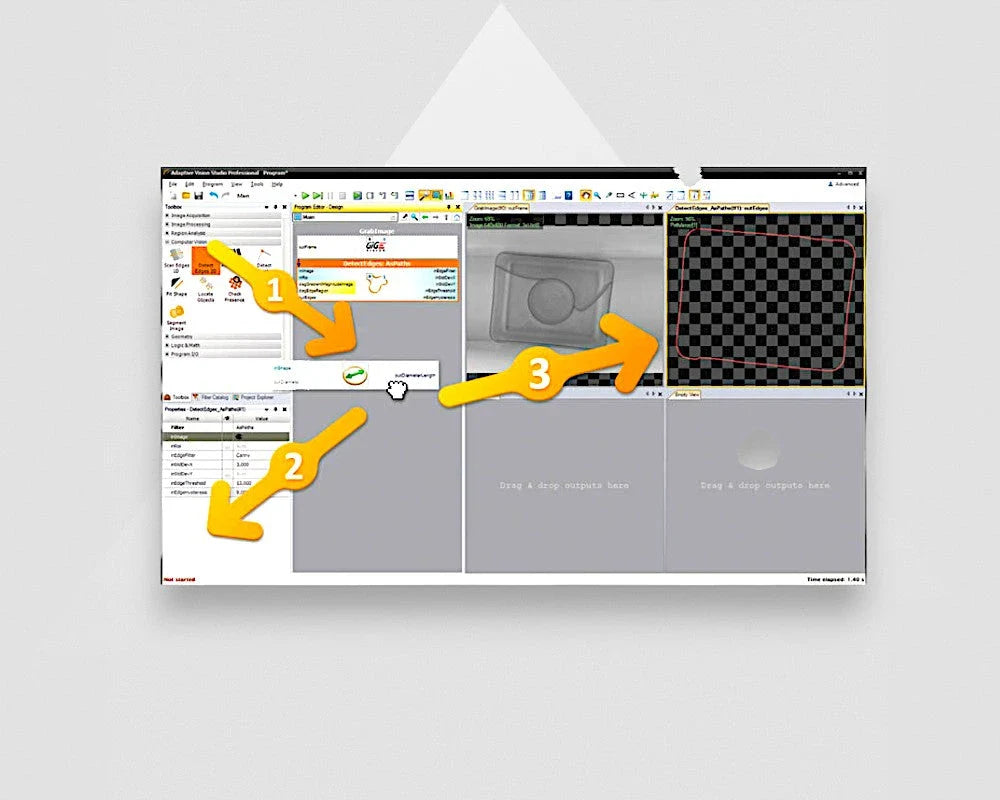
Once the image is acquired, you need image processing software to inspect and evaluate the image. There are a number of 3rd party software packages that you can choose from, we recommend Zebra Aurora Vision (formally known as Adaptive Vision). The customer was able to test the software on his label inspection system by downloading the trial software package, he was pleasantly surprised how easy the software is to navigate.
We offered to create Demo program and requested that the customer then provided one folder that contained 10 images of the package that were good and a folder with 15 images that had errors and for each error a description of the error. For example, an expiry date that had not been printed correctly or a certification sticker that was missing from the package. Once we received the images a demo program was created, and the customer could do further testing.
The following tools were used for this label inspection application: Program Examples - Aurora Vision
- Presence checking
- OCR reading
- Barcode scanning/Identification
- Position detection
The customer was happy and received his software package ready to use with the ability to make his own adjustments to the program. If you would like some support regarding Zebra Aurora vision, please feel free to contact us.
Questions about label inspection vision system?
Label inspection systems can be useful is many different industries including Food industry, retail or manufacturing to name a few. After an initial investment it can save you time and ensure that your customers are fully satisfied with the product that you are providing. If you have questions regarding your label inspection vision system project, contact us with the form below.


