Position Detection for Object Placement using Computer Vision
Imagine a packaging process that runs like clockwork. Every box precisely placed, every step automated for maximum efficiency. This is the power of machine vision in action. Nowadays, packaging companies tend to automate as many processes as possible.
By doing so, the process itself becomes more efficient in terms of speed and quality, while also minimizing the chance of human error occurring. That is why, to make it as efficient and functional as possible, it is important to have the right setup for the job.

Therefore, in this article, you can see an example of what setup could be used to automate a packaging process by teaching the machinery to detect and place an object in the correct location. Furthermore, in the following paragraphs, you will see an example situation where a VA Imaging engineer provided a customer with the most suitable setup for their application. Moreover, some mentioned items and topics have links to them, so, if necessary, it would be possible to find more information about the highlighted phrase.
In this case study, we'll explore how VA Imaging helped a packaging company automate the placement of boxes on a conveyor belt. This repetitive task was prone to errors and inefficiencies. By implementing a machine vision system, the company aimed to achieve:
- Increased speed and throughput
- Improved accuracy and consistency
- Reduced manual labor costs
Table of contents
Selecting the Best Machine Vision Camera
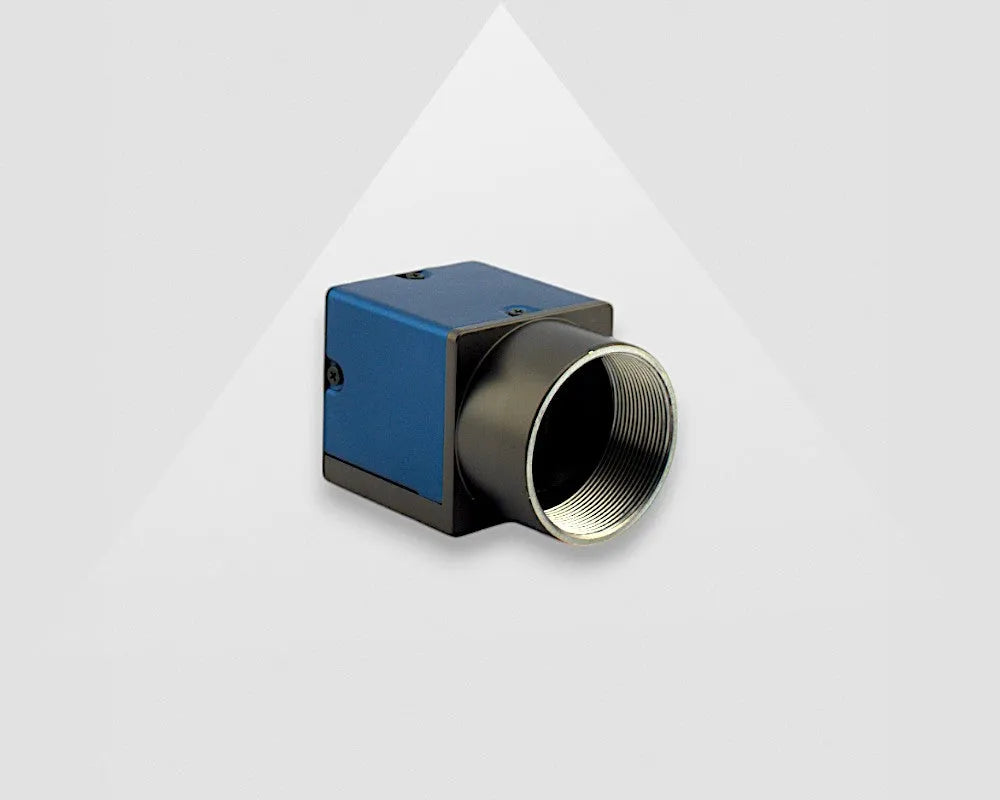
For starters, to build a working setup, an industrial camera needs to be chosen, that would be the best fit for the application. In this situation, the camera recommended to the customer was the 1.6MP USB3.0 'MER2-160-227U3M' camera. It is a 1.6-megapixel camera, equipped with a Global Shutter, a Sony IMX273 sensor and is capable of reaching a framerate of 227fps. Naturally, this camera was chosen to fit the customer’s required specifications.
The client specified that the distance between the machinery that the camera will be connected to and the PC is around 2.5 meters. Most of the time, if the distance between the camera and the PC are less than 4.6 meters, we suggest using a USB3.0 camera interface because this interface is a perfect fit for applications that require high resolution and high framerate.
When it came to choosing a monochrome or a color camera, the customer specified that for detecting the position of where to place the object, color is not needed. Therefore, the client was advised to use a monochrome camera, which is also 3 times more light sensitive, compared to a color camera.
Furthermore, this whole process happens on a conveyor, which means that the position needed to be detected is constantly moving, so a global shutter camera was a good addition to the setup. In case more information is needed about the Global or Rolling Shutter, it can be found on at VA Imaging’ Knowledge Center.
Another important factor to determine when choosing a camera fit to aid in the application at hand is the resolution. In this scenario, the client informed us that the object needed to be placed was a box with 100x100mm parameters and the desired FOV was 800x600mm. Based on this information, it was safe to assume that the suggested 1.6 megapixel camera with a Sony IMX273 sensor and a resolution of 1440x1080 pixels will be a perfect fit.

Choosing the Optimal Lens for the Automate Packagingprocess
The previously suggested MER2-160-227U3M camera has a Sony IMX273 sensor with an optical size of 1/2.9”. The best way to figure out what lens would be the best fit for the setup is to use the online lens calculator. In this case, the specifications needed to provide the correct lens were the horizontal field of view and the working distance. Furthermore, the camera’s resolution and the pixel size are used to identify the actual FOV of the setup (See the calculations below for reference).
To detect the correct position for placing the object a FOV of 800x600mm was identified in correlation with a working distance between 950 to 1000mm. After trying out different working distances, the final choice was to go with a working distance of 972mm, with an actual FOV of 800x600mm.
Therefore, the lens that fits these requirements best – the 5MP 06mm focal length 'VA-LCM-5MP-06MM-F1.4-015' non-distortion lens was recommended.

Lens calculator

Machine vision Lights Regarding Detection for Object Placement
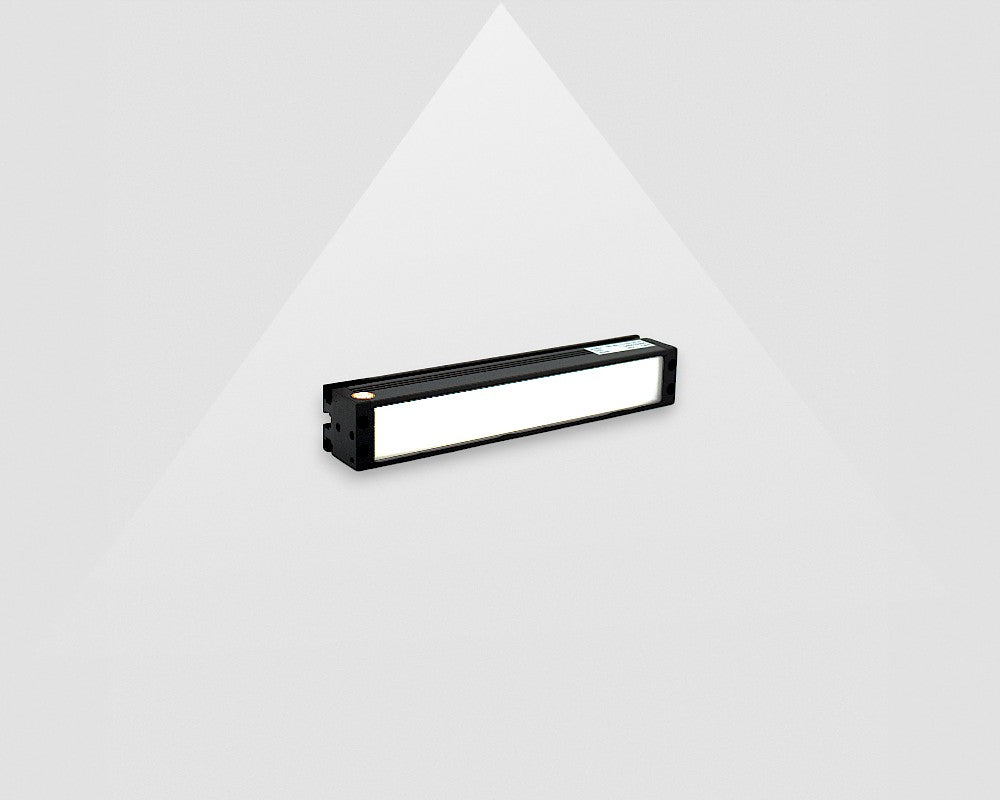
While the monochrome camera offered increased light sensitivity, additional lighting was necessary for optimal object detection and to teach the machinery where to place the box. Therefore, a machine vision lightning solution was proposed. To detect the placement of the object, it was advised to use four 'Bar light series VA-BL3' .
With the help of the four bar lights, the field in which the object needs to be placed was clearly visible and easily recognizable by the machine. Of course, setting up the lighting in certain situations could be a bit tricky, so if there are any questions feel free to contact one of our experts.
Furthermore, in some situations, it could happen that the reflection with this setup is unavoidable. To combat this, solutions are recommended such as polarizing lights, polarizing filters for the lights or a polarizing filter for the lens.

The Correct Software for the Setup
To finalize the setup, the last missing piece is a computer vision software. In this case, the software advised would be used to help the machine detect the correct position of where to place a box during the packaging process. Since VA Imaging products are GenIcam compatible, they can be used with various 3rd party software like MvTec Halcon, Ni Labview, Cognex Vision Pro, Matlab, OpenCV and Arm Board.
For initial setup and camera parameter configuration, we recommended the DAHENG IMAGING SDK. This user-friendly SDK supports popular programming languages like C++, C#, and Python, making it easy for developers to integrate the vision system.
Also, an important note is that the SDK is well compatible with both industrial PCs and ARM platforms, which include but are not limited to NVIDIA TX series and Raspberry Pi. Moreover, Windows, Linux and Android are systems that support this software. However, regarding Notably and Apple MAC OS there is no support on the industrial side, but if needed, engineers using Windows or Linux on MAC can run a virtual machine.
However, for this application, the client was seeking a simple solution that would be easy to use. We recommended the Zebra Aurora Vision Software, particularly to start with the free lite version. This user-friendly software offers a graphical interface that simplifies object detection and system control.

Similar Position Detections Applications with computer vision
The advised setup could be used for various other applications as well. Apart from being used in packaging processes, it could also be used in situations like manufacturing and bottling. In essence, you can use it for a lot of different applications that require placing an object in a certain position.
Support regarding object placement application
Machine vision offers a powerful solution for automating object placement. By carefully selecting cameras, lenses, lighting, and software, companies can achieve significant improvements in their production processes.
If you need help or you're looking to automate object placement in your own operation, contact our machine vision experts today! Feel free to reach out to us, using the form below and you will be contacted by one of our machine vision experts.


