So kompilieren Sie ein C#-Beispielprogramm zum Erfassen von Bildern in Visual Studio
Die Basisversion von Visual Studio, die Community Edition, ist kostenlos erhältlich.

Microsoft Visual Studio ist eine leistungsstarke integrierte Entwicklungsumgebung (IDE), die zur Entwicklung einer Vielzahl von Applikationen verwendet wird. Die Basisedition, Visual Studio Community, steht zum kostenlosen Download und zur kostenlosen Nutzung zur Verfügung. Mit Visual Studio und dem Galaxy SDK können Sie maßgeschneiderte Programme entwickeln, um mit GigE- und USB-Industriekameras zu interagieren.
Im Folgenden erfahren Sie, wie Sie Ihre Entwicklungsumgebung in Visual
Studio einrichten, ein C#-Probeprogramm ausführen und es zur Bilderfassung verwenden.
Inhaltsverzeichnis
Schritt 1: Laden Sie das Galaxy Windows SDK herunter und installieren Sie es
1. Laden Sie das Galaxy Windows SDK von der Download-Seite von VA Imaging herunter.
2. Entpacken Sie die heruntergeladene Datei und führen Sie die Installationsdatei aus.
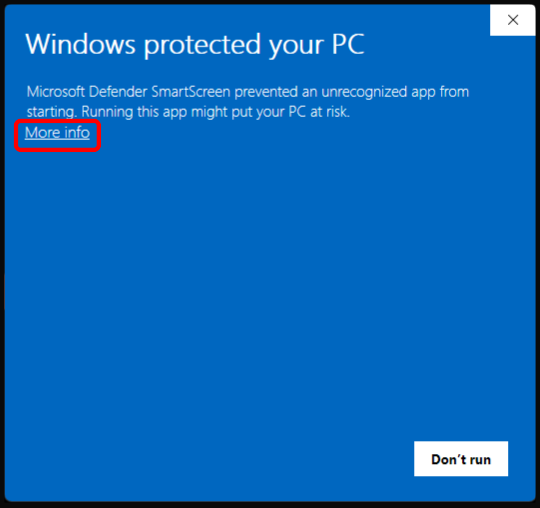
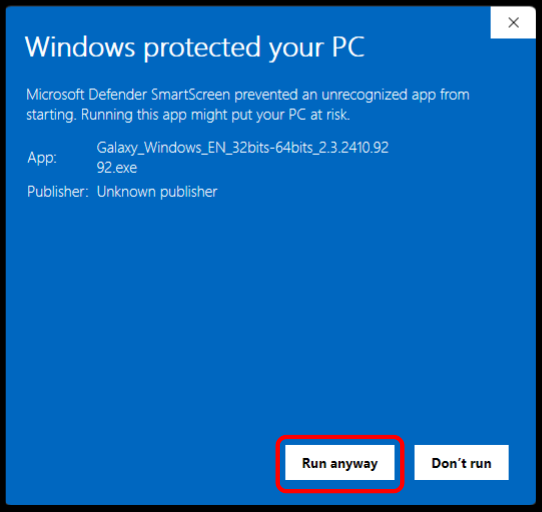
3. Wenn die folgende Meldung angezeigt wird, klicken Sie auf „Weitere Informationen“ und dann auf „Trotzdem ausführen“.
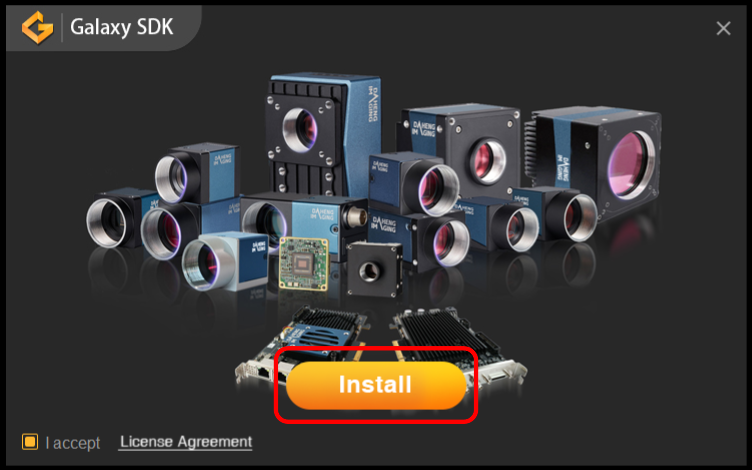
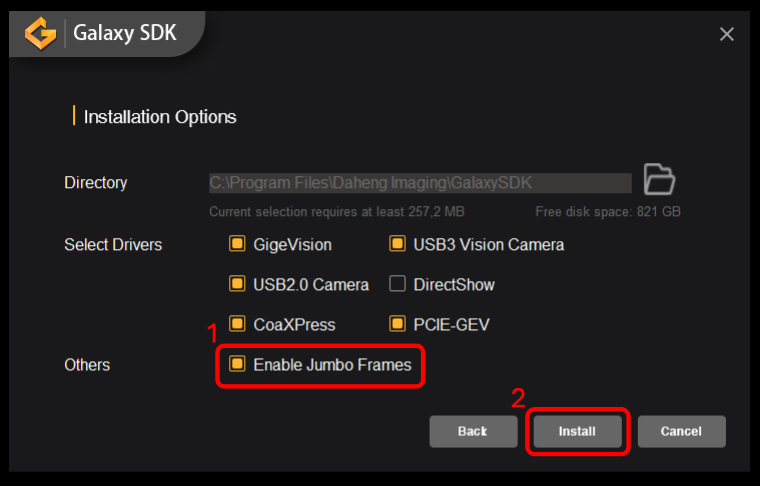
4. Wenn das Installationsfenster erscheint, klicken Sie auf „Installieren“.
5. Stellen Sie sicher, dass „Jumbo Frames aktivieren“ eingeschaltet ist, und klicken Sie dann auf „Installieren“, um die Installation zu starten.
Schritt 2: Laden Sie Visual Studio herunter und installieren Sie es
1. Laden Sie Visual Studio herunter und installieren Sie es
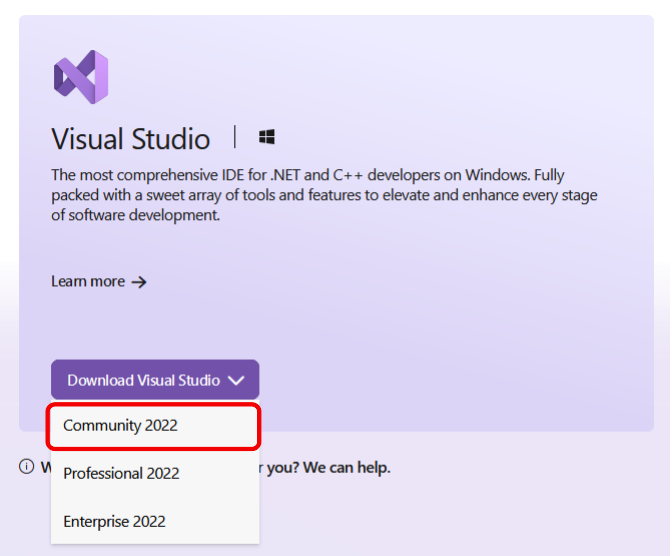
2. Öffnen Sie die heruntergeladene Installationsdatei und erteilen Sie die erforderlichen Berechtigungen unter Windows.
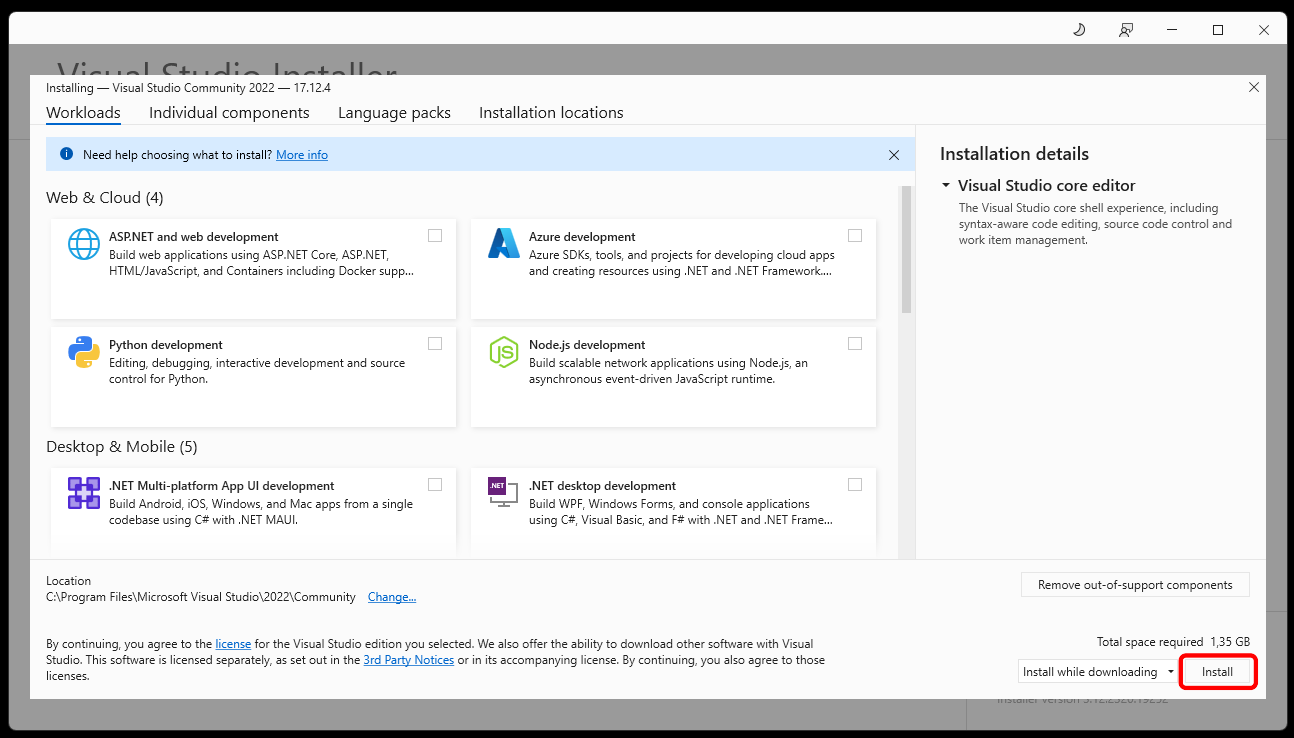
3. Klicken Sie auf „Installieren“, um den Installationsvorgang zu starten.
Schritt 3: Richten Sie die Umgebung in Visual Studio ein
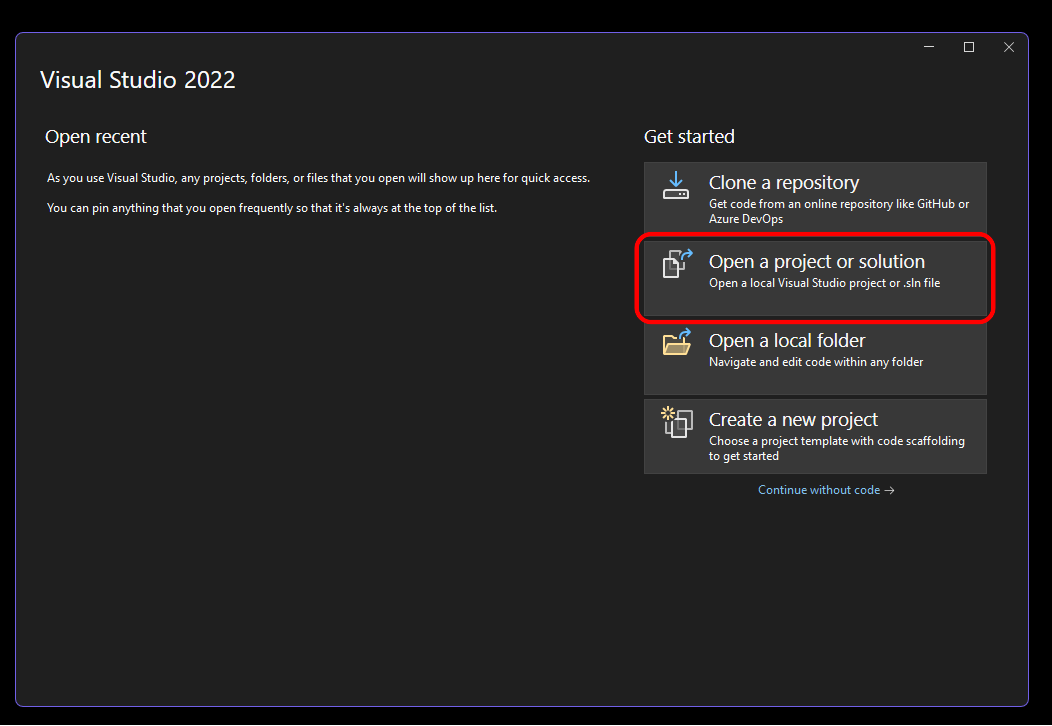
1. Öffnen Sie Visual Studio.
2. Wählen Sie „Projekt oder Lösung öffnen“.
3. Navigieren Sie zu dem folgenden Pfad und öffnen Sie das „GxIAPINETSample_VS2015.sln“-probeprojekt:
C:\Program Files\Daheng Imaging\GalaxySDK\Development\Samples\CSharp\x64\src
4. Befolgen Sie alle Aufforderungen, um zusätzliche Komponenten zu installieren, die für die Ausführung des Programms erforderlich sind, indem Sie wie im Foto gezeigt auf „Installieren“ klicken.
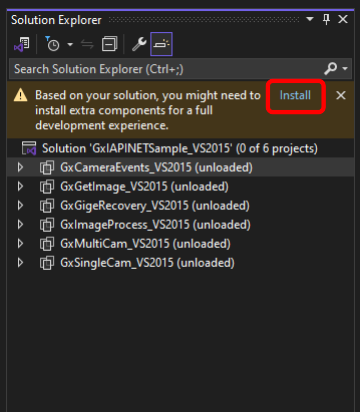
5. Installieren Sie das .NET SDK, falls Sie dazu aufgefordert werden.
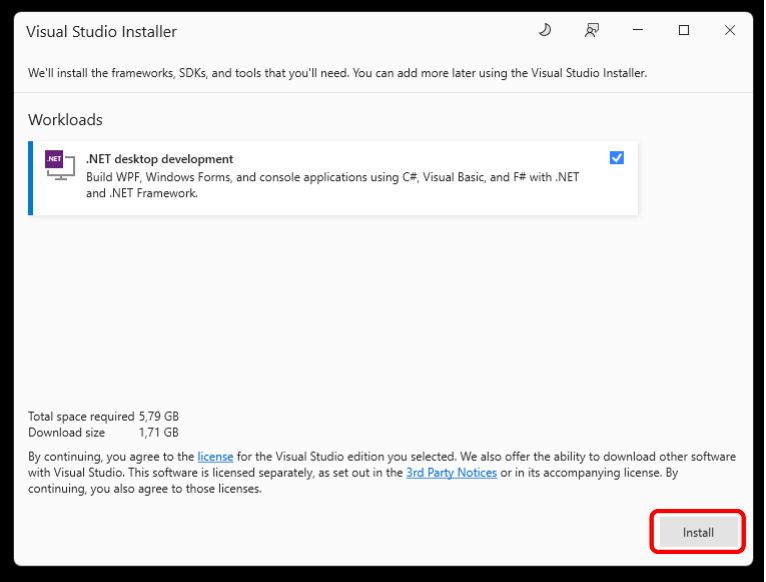
Schritt 4: Erstellen und Ausführen einer Probe
1. Wählen Sie im Dropdown-Menü "Build" die Option "GxSingleCam_VS2015" (wie im bereitgestellten Foto gezeigt) und drücken Sie anschließend "Start", um den Build-Prozess zu starten.

2. Überprüfen Sie, ob der Build erfolgreich war.

3. Sobald der Build abgeschlossen ist, klicken Sie auf "Gerät öffnen" und dann auf "Aufnahme starten", um den Stream zu beginnen.
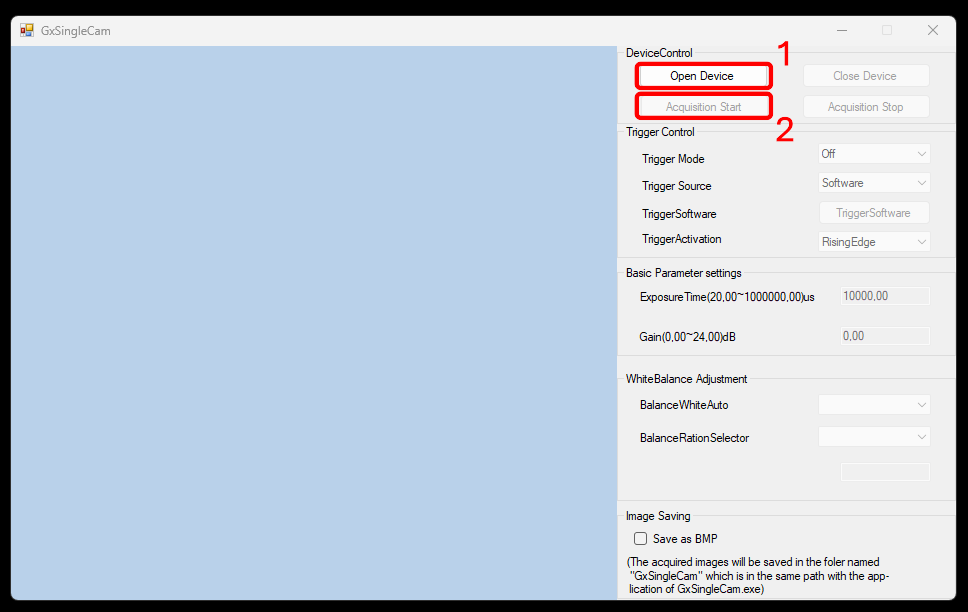
Schritt 5: Bild aufnehmen
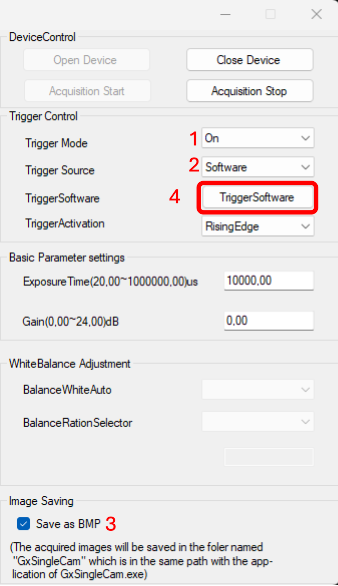
1. Stellen Sie den „Trigger Mode“ auf „On“.
2. Stellen Sie den „Trigger Course“ auf „Software“.
3. Aktivieren Sie „Save as BMP“.
4. Drücken Sie „TriggerSoftware“, um das gewünschte Foto aufzunehmen und zu speichern.
5. Passen Sie die anderen Parameter bei Bedarf gerne an.
